
Your WordPress login page is one of the most targeted entry points for hackers, bots, and brute-force attacks. If you’ve noticed failed login attempts or suspicious activity in your logs, you’re not alone. Blocking specific IP addresses can be a powerful way to cut off bad actors before they even reach your site’s login screen.
The good news? You don’t need to write complicated firewall rules or dig into server settings. With the All In One Login plugin, you can block or allow IP addresses directly from your WordPress dashboard without any technical mess.
In this guide, you’ll learn how to block an IP address from accessing your WordPress login page using the AIO Login plugin. We’ll walk you through everything step by step.
Ready? Let’s get started!
What Happens When You Don’t Block Suspicious IPs?
Leaving your WordPress login page open to anyone on the internet is like leaving your front door unlocked. Eventually, someone will try to sneak in—especially if your site gets any kind of traffic.
Hackers often run automated bots that try hundreds or even thousands of password combinations. This is known as a brute-force attack, and it’s one of the most common threats WordPress sites face. These attacks can overload your server, slow down your site, and—even worse—crack weak passwords.
You might also deal with repeated login attempts from spam IPs, failed login notifications filling your inbox, or random users trying to access your admin panel.
If you don’t take action, your website becomes an easier target. Once someone breaks in, your dashboard, files, database, user accounts, and even customer data could be compromised.
That’s why setting up IP blocking is a smart move.
Benefits of Blocking IP Addresses on the WordPress Login Page
Blocking IP addresses is about stopping attackers and controlling who can reach your login page in the first place.
Here’s what you gain by setting it up:
- Keep Brute-Force Attacks Out: Most brute-force attacks come from known or flagged IP addresses. Blocking those IPs instantly blocks automated scripts trying to guess your login.
- Stop Bots Before They Reach the Login Page: You don’t want bots wasting your server resources. IP blocking helps you stop them at the gate, reducing server load and potential downtime.
- Control Access to Your Admin Area: If you run a membership site or manage a team, you can use whitelisting to limit login access to specific staff or locations. A perfect feature for internal operations.
- Customize What Blocked Users See: Don’t want to show a boring error message? AIO Login lets you write your own message when someone tries to access from a blocked IP. Use it to sound firm, friendly, or just informative.
- Set It and Forget It: Once you’ve set your blacklist or whitelist, you won’t have to tweak it every day. The system works quietly in the background, giving you long-term protection with minimal effort.
IP blocking doesn’t replace strong passwords or two-factor login, but it gives you an extra wall between your site and unwanted visitors. And with AIO Login, putting that wall in place takes just a few clicks.
Introducing the AIO Login Plugin for Login Protection
If you’re looking for a simple yet powerful way to control access to your WordPress login page, All In One Login (AIO) has your back.
This plugin is built specifically to manage and protect the WordPress login experience. Instead of wrestling with complicated code or third-party firewalls, you can handle everything right from your WordPress dashboard.
Here’s why AIO Login stands out when it comes to IP blocking:
- Dedicated Login Protection Panel: You get a focused, easy-to-navigate interface where you can manage blocks and allow lists in seconds.
- Two Powerful Modes: Switch between whitelist (allow only specific IPs) or blacklist (block unwanted IPs) based on how strict you want to be.
- Custom Block Messages: Instead of showing a bland access denied screen, you can write your own block message for a more personalized or professional touch.
- Zero Coding Required: You don’t need to edit .htaccess files or mess with server settings. Just toggle, type, and save.
- Real-Time IP Control: Add or remove IPs instantly, without waiting for plugin reloads or backend delays.
- Limit Login Attempts: Set a cap on the number of failed login attempts a user can make before being locked out. This helps stop brute-force attacks at the source.
- Two-Factor Authentication (2FA): Add an extra layer of security by requiring users to verify their identity with a one-time code.
- Login Page Customization: Personalize the login form with custom branding, fields, and messages to match your website’s style.
- reCAPTCHA Support: Easily integrate Google reCAPTCHA to block bots before they even attempt to log in.
- Login Activity: Get detailed logs of login attempts to spot suspicious activity before it becomes a problem.
Whether you’re dealing with login spam, random brute-force attacks, or just want full control over who can get into your WordPress admin area, AIO Login gives you all the tools in one lightweight plugin.
Step-by-Step: How to Block an IP Address from Accessing the WordPress Login Page
You don’t need to touch a single line of code to block an IP. The AIO Login plugin makes it a breeze. Just follow these steps:
Step #1: Install and Activate the All In One Login [Free + Pro]
Start by heading to your WordPress dashboard.
- Go to Plugins > Add Plugin
- Search for All In One Login
- Click Install Now, then hit Activate
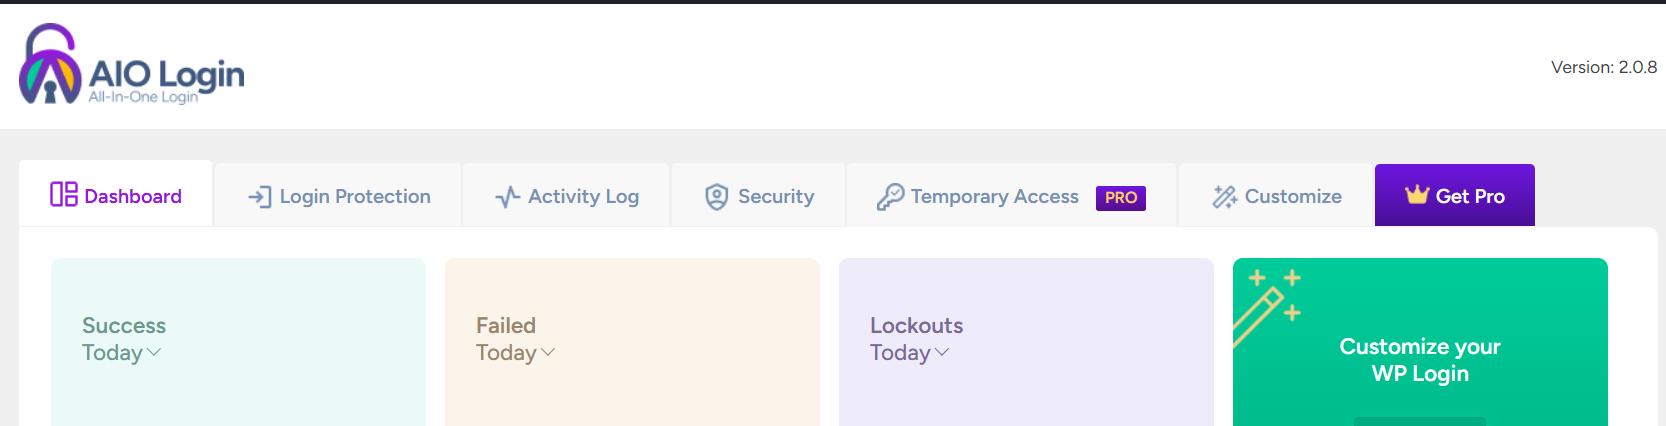
Once it’s activated, you’ll see the AIO Login option in your left-hand admin menu.
NOTE: The IP Blacklisting and Whitelisting feature is available in the premium version, so before we proceed with the IP blocking process, follow the steps below to install the premium version of the plugin as well.
To upgrade:
- Go to the plugin’s dashboard in WordPress.
- Click the ‘Get Pro’ tab or visit the official All In One Login website to purchase the Pro plugin.
- After purchase, you’ll receive a .zip file containing the Pro plugin and a license key via email.
- Go back to your WordPress dashboard.
- Navigate to Plugins → Add Plugin → Upload Plugin.
- Click Choose File, select the Pro version .zip file, then click Install Now.

- After installation, click Activate Plugin.
- Once activated, you’ll need to paste in your license key and click ‘Activate License.’

Once the license is activated, your dashboard will show new pro-only features, including the Ban/Whitelist IP Addresses option.
Step #2: Go to the “Block IP Addresses” Settings
You have two quick ways to get there:
- Click the ‘Security’ tab, then select the ‘Ban/Whitelist IP Addresses’ sub-tab.
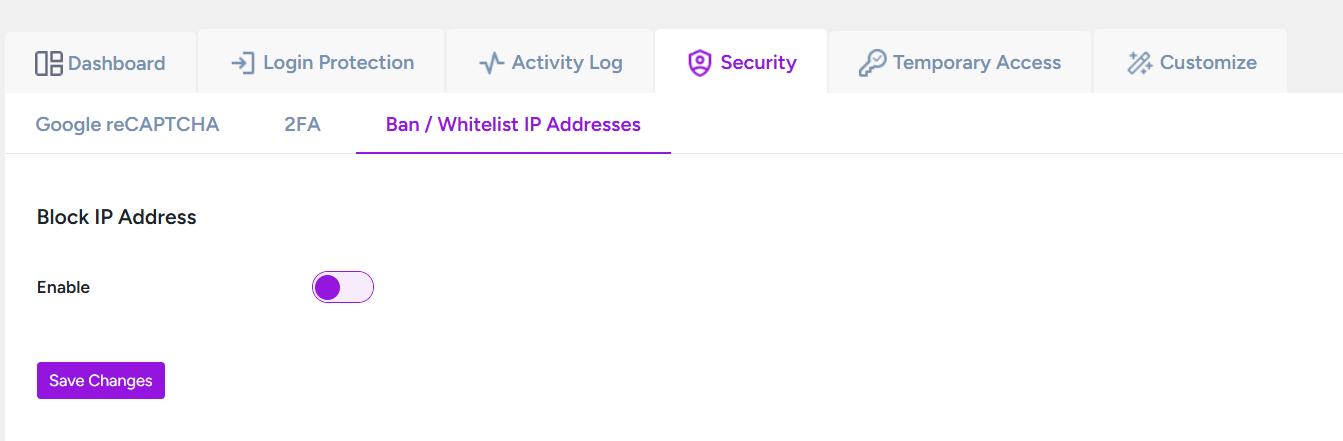
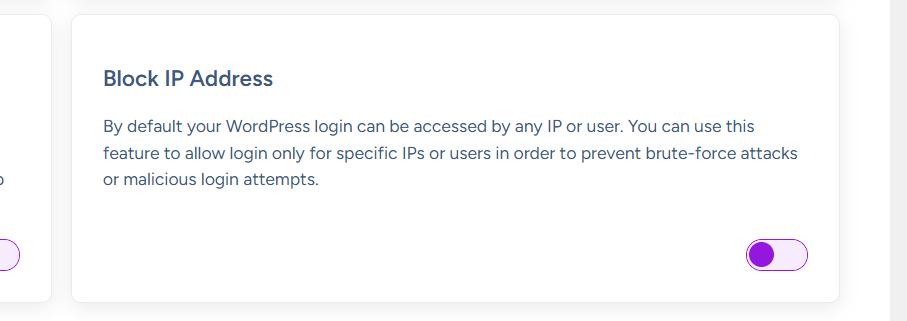
- Toggle on the ‘Block IP Address’ card on the dashboard.
Both routes lead to the same settings page.
Step #3: Enable the Block IP Addresses Feature
Once you’re on the settings screen, you’ll see a toggle switch labeled Block IP Addresses.
- Flip the switch on.

This activates the feature and unlocks the configuration options below.
Step #4: Choose a Blocking Mode (Whitelist or Blacklist)
In the Blocking Mode dropdown, choose one of the following:
- Whitelist Mode – Only listed IPs will be allowed. Everyone else gets blocked.
- Blacklist Mode – Only listed IPs will be blocked. Everyone else can access the login page.

Pro Tip: If you manage a team or work from fixed locations, Whitelist Mode is great. If you’re just trying to stop bad actors, go with Blacklist Mode.
Step #5: Add IP Addresses to Block or Allow
Depending on your selected mode:
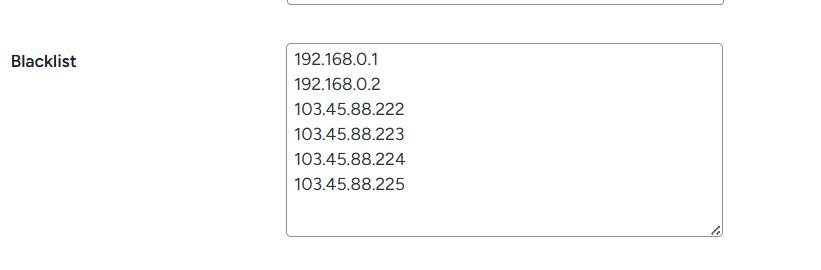
- Enter the IPs you want to block (Blacklist Mode) or allow (Whitelist Mode) in the field below.
- Type one IP per line.
For example:
192.168.0.1
192.168.0.2
103.45.88.222
103.45.88.223
103.45.88.224
103.45.88.225
Pro Tip: You can use tools like WhatIsMyIP or server logs to identify IPs.
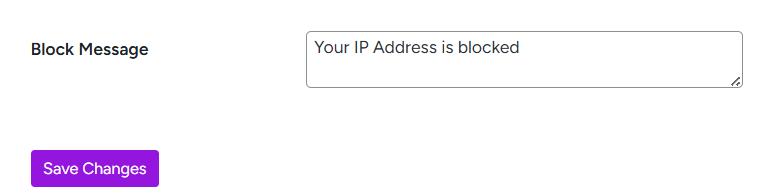
Step #6: Customize the Block Message and Save
There’s a field labeled Block Message—this is what users will see if they’re blocked.
You can stick with the default (“Your IP Address is blocked.”) or get creative.
Example:
“Access denied. If you believe this is an error, contact the site administrator.”
Once everything looks good, scroll down and click the Save Changes button.
Boom. Your WordPress login page is now protected with IP-based access control.
Best Practices When Using IP Blocking
IP blocking gives you a strong layer of defense, but using it carelessly can lock you (or your team) out of your own site. Here are a few smart practices to keep things under control:
Don’t Block Your Own IP by Mistake
Always check your current IP address before adding new blocks, especially in Whitelist Mode. To see your public IP address, you can use websites like whatismyip.com.
Pro tip: Add your IP to the whitelist first, then activate the feature.
Use Whitelist Mode for Private Access Only
If your login access is limited to you or a small internal team, Whitelist Mode works best. It blocks everyone else while giving approved IPs full access. Just be sure your internet connection has a static IP, or you’ll lose access when it changes.
Monitor Suspicious Activity
Keep an eye on failed login attempts or traffic spikes in your security logs or from your hosting dashboard. These often point to specific IPs that need blocking.
Keep a Backup Access Method Handy
Always have a backup way to access your site, whether that’s hosting panel access, FTP credentials, or a separate admin user that you don’t block. That way, if something goes wrong, you can still regain control.
Pair with Other Login Security Features
IP blocking is strong, but combining it with reCAPTCHA, 2FA, or a custom login URL adds even more protection. AIO Login also supports these features, making building a tighter login wall easier.
Frequently Asked Questions (FAQs)
Still have questions? Here are some quick answers to the most common questions people ask when setting up IP blocking with the AIO Login plugin:
Can I unblock an IP later?
Yes, absolutely. To lift the block, go to the Block IP Addresses settings, remove the IP from the list, and click Save Changes.
How do I know which IPs to block?
Check your hosting logs, security plugin alerts, or analytics dashboards. Repeated failed logins or unusual activity from a single IP are red flags. You can also use services like Wordfence or Sucuri to identify suspicious IPs.
Will this block users from accessing my whole website?
No. The AIO Login plugin only restricts access to the login page. Visitors can still browse your public content freely unless you’ve applied other restrictions.
What happens if my IP changes and I get locked out?
If you’re using Whitelist Mode and your IP changes, you’ll be blocked too. In that case, log in through your hosting panel or FTP and manually deactivate the plugin. You can then log in and update your whitelist.
Final Thoughts
When it comes to WordPress security, your login page is one of the most sensitive spots. Leaving it exposed means inviting bots, brute-force attacks, and bad actors to take their shot. But by simply blocking specific IP addresses, you instantly raise the barrier and keep unwanted access out.
The All In One Login plugin gives you an easy, code-free way to do this, right from your WordPress dashboard. Whether you want to blacklist a few troublemakers or lock down your login page for a private team, this plugin makes it straightforward.
Don’t wait until your site gets hit. Take five minutes today, download All In One Login, activate the IP blocking feature, and gain complete control over who can reach your login page.
Your website deserves protection, and All in One Login has everything you need to make it happen.