
Only 1.35 billion people out of 7.8 billion people can speak English. And only about 360 million of them speak it as their first language. If you want to create a multilingual website, you have to make it accessible to the entire population and not just a specific region or specific group of people—unless you run a niche site.
You must be wondering how you can do it.
Well…it’s easier than you think. In this article, we will show you how you can set up a WordPress multilingual login page in two easy and actionable steps.
Ready? Let’s get started!
What is a WordPress Multilingual Login Page?
A multilingual login page is a user interface designed to offer an accessible experience for users from diverse linguistic backgrounds. It allows visitors to select their preferred language so that their login process is accessible and understandable.
This feature is essential for websites, applications, and platforms serving international users, as it removes language barriers and enhances the overall user experience. By offering translations for form labels, instructions, and error messages, a multilingual login page demonstrates professionalism while improving usability for non-native speakers.
Such pages are especially crucial for businesses, educational institutions, and organizations trying to penetrate new market segments to reach a worldwide customer base or cater to multicultural people.
Multilingual websites usually offer a drop-down menu to select the language of the login page. Enabling users to see prompts in the login forms in their preferred language.
Examples of Successful Multilingual Websites
The implementation of multilingual options has been a game changer for many global websites. Here are a couple of examples:
- Amazon
Amazon, one of the world’s largest e-commerce platforms, supports multiple languages based on the region, including Spanish and Japanese. Amazon ensures that the user experience is top-notch by offering product descriptions, reviews, and navigation options in the user’s preferred language. This multilingual strategy allows the eCommerce marketplace to reach a broader audience and increase customer trust and satisfaction, which can contribute to its global success.
- Wikipedia
Wikipedia is a prime example of a multilingual website that is available in over 300 languages. This language diversity ensures that people worldwide can access information in their native language, making Wikipedia an invaluable resource to get information in the language of users’ choice.
If websites like Wikipedia and Amazon can benefit from multilingualism, your store can definitely do so as well. Let’s jump right into how to set up a multilingual WordPress login page.
02 Easy Steps to Setup a WordPress Multilingual Login Page
For this tutorial, we will use two specific plugins. One for multilingualism and the other one for customization of the login page. Combine both, and you can easily set up and customize a WordPress multilingual login page.
Step #1: Set up the Multilingual Plugin of Your Choice
Before we start customizing the website, let’s install a plugin that can enable the user to translate the entire website. For that, we are going to choose TranslatePress. The plugin has a very simple interface.
Once activated, you will see an interface like this:

Select the Default Language from the first drop-down menu.
Search and add multiple languages from the All Languages section.
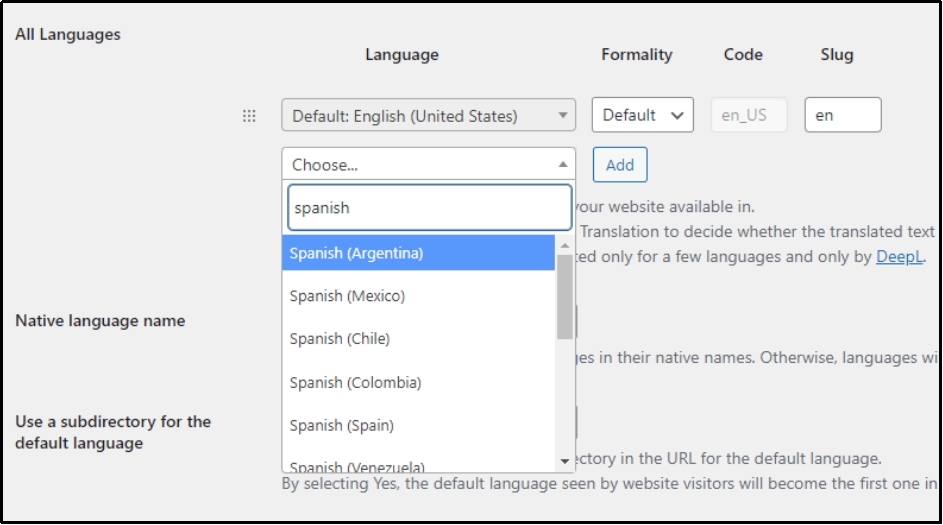
After selecting Spanish, I saved the changes. Now, let’s see how it looks.

Voila! As you can see, since we only chose Spanish, this drop-down allows you to select all the languages.
Although the WordPress multilingual login page is ready, it’s still very boring and mundane. Therefore, we will customize it using All-in-One Login—the best WordPress login protection plugin that also allows full customization of the login page.
Step #2: Customize the Page With All-in-One Login
Download the plugin by navigating to the WordPress dashboard >> Plugins >> Add New Plugin >> All-in-One Login.
Click Install and wait until the Activate button appears. Once it shows up, activate the plugin, as you can see in the image below.

Once activated, navigate to the Plugin’s settings >> Customize.
Here is the first look you will get as soon as you land on it. The customization tab consists of four subtabs: Logo, Background, Custom CSS, and Templates. Let’s understand each one in detail.
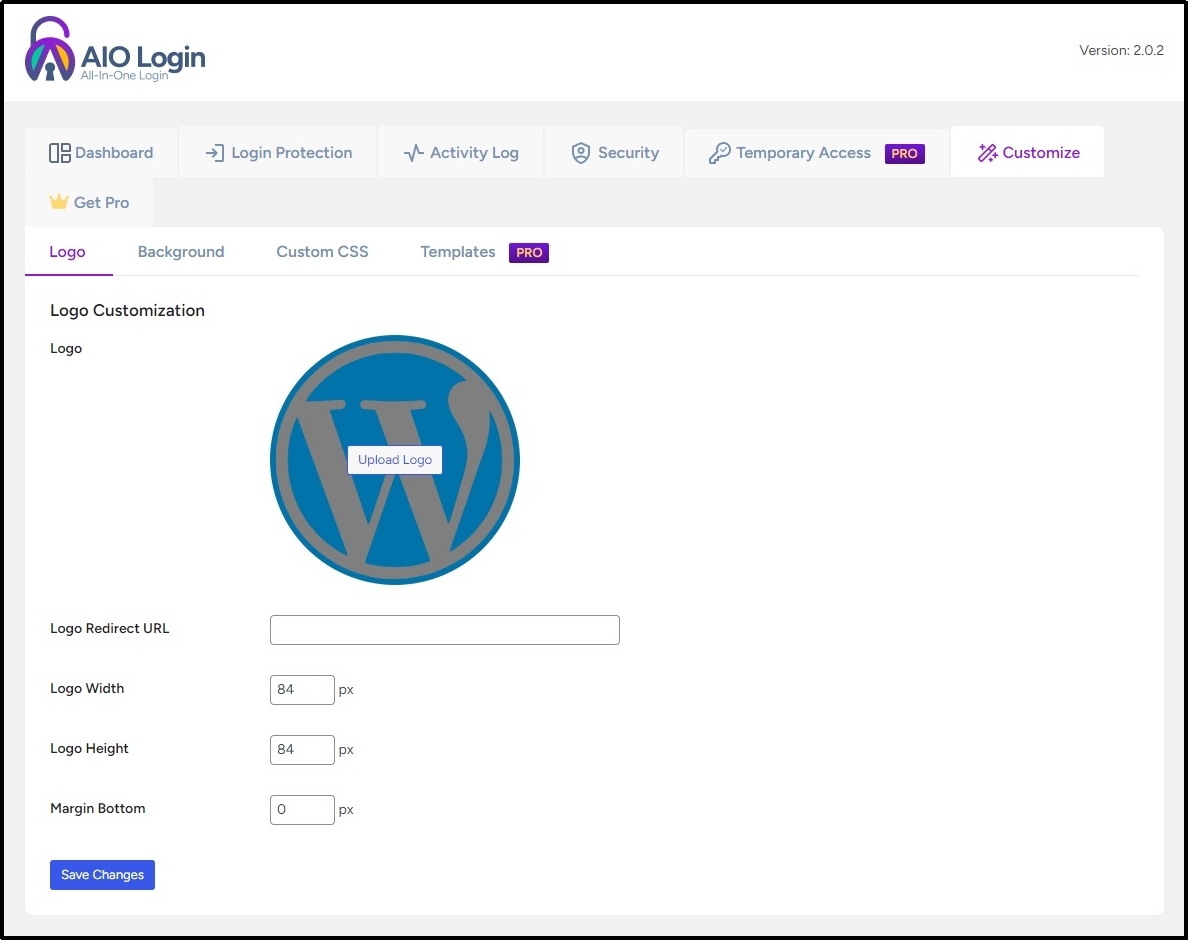
The first tab, Logo, helps you replace the WordPress logo with your own.
To change the logo, click the Upload Logo button.
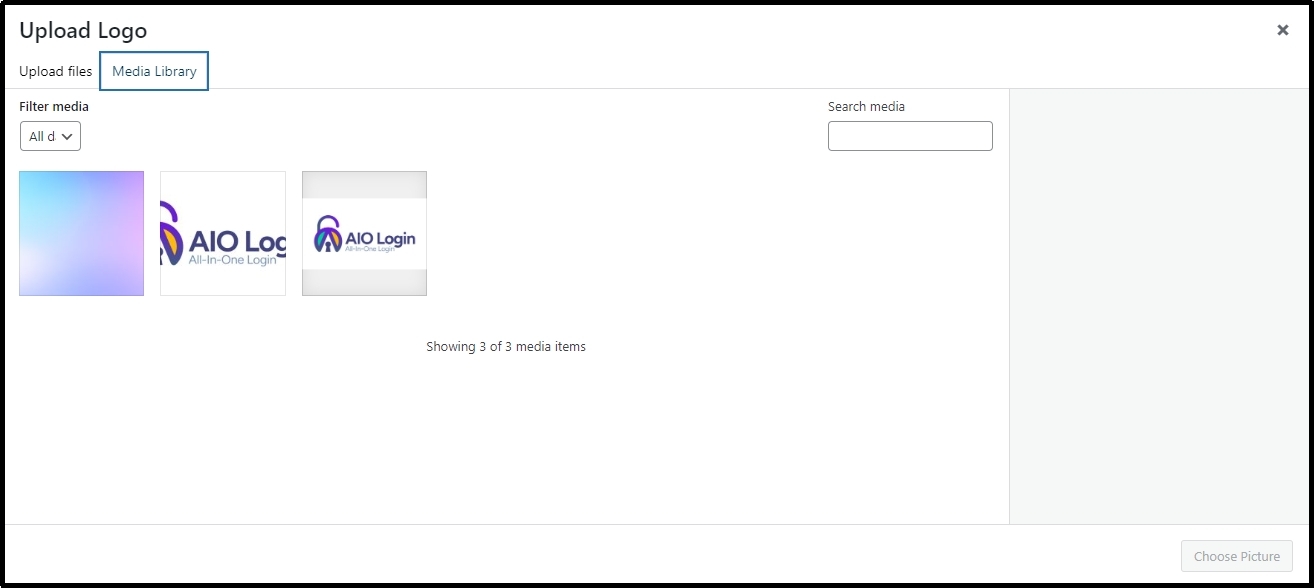
Once you are redirected to the Media Library, upload the logo or select it from the Media Library if you have it already uploaded.
After selecting the logo, scroll down to the Logo Redirect URL and enter the URL where you would want the user to land if they click the logo. Most websites take users to the homepage if they click the logo on the website. You can also add your home page’s URL here.
Let’s move on to the alignment options. You can experiment with them until your logo looks perfect.
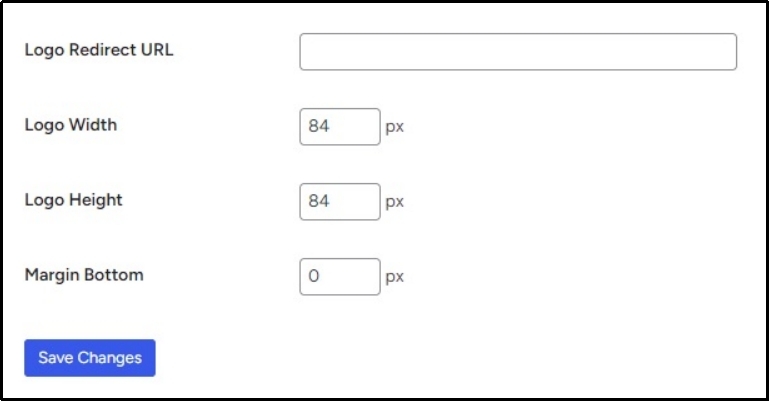
Once done, save the progress using the Save Changes button.
The logo is done. Now, let’s move on to the background tab.

All-in-One Login allows you to change the background color and background image in the background subtab. You can change your background color to match your brand’s aesthetics.
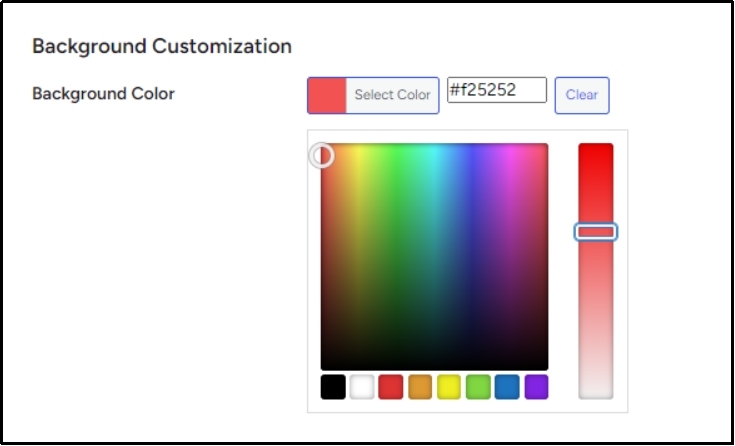
Alternatively, if you are not a fan of choosing a color, you can upload a background image. I have chosen a gradient color; you can select anything that resonates with your audience or brand.
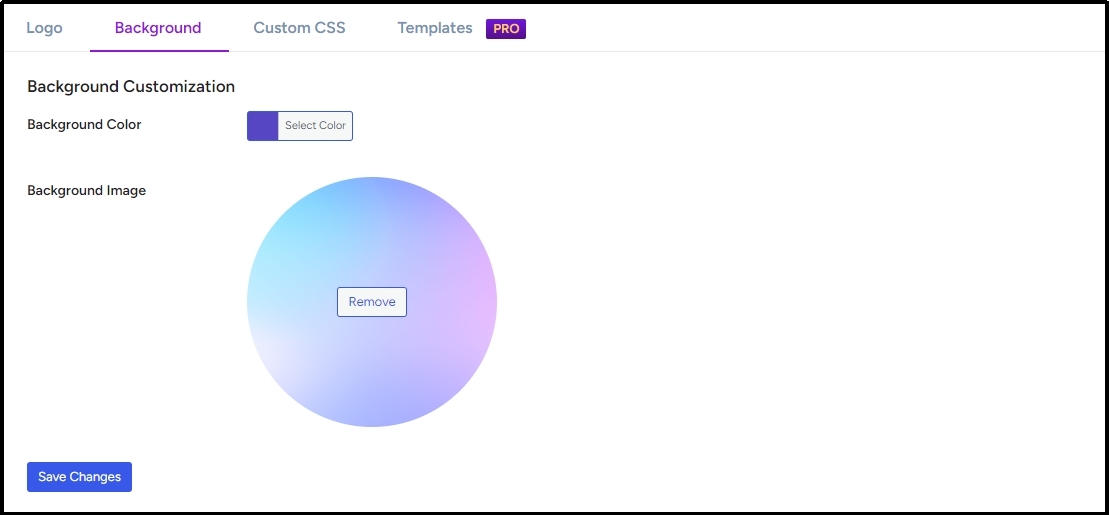
Once done, save changes again with the Save Changes button.
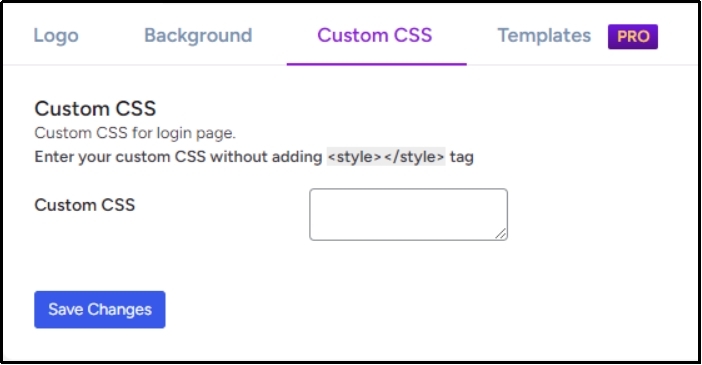
Moving on to the next tab, the Custom CSS.
As the name suggests, if you want to add further features to your login page and know how to code, you can always leverage this feature. Just make sure to add your custom CSS code without adding a <style></style> tag.
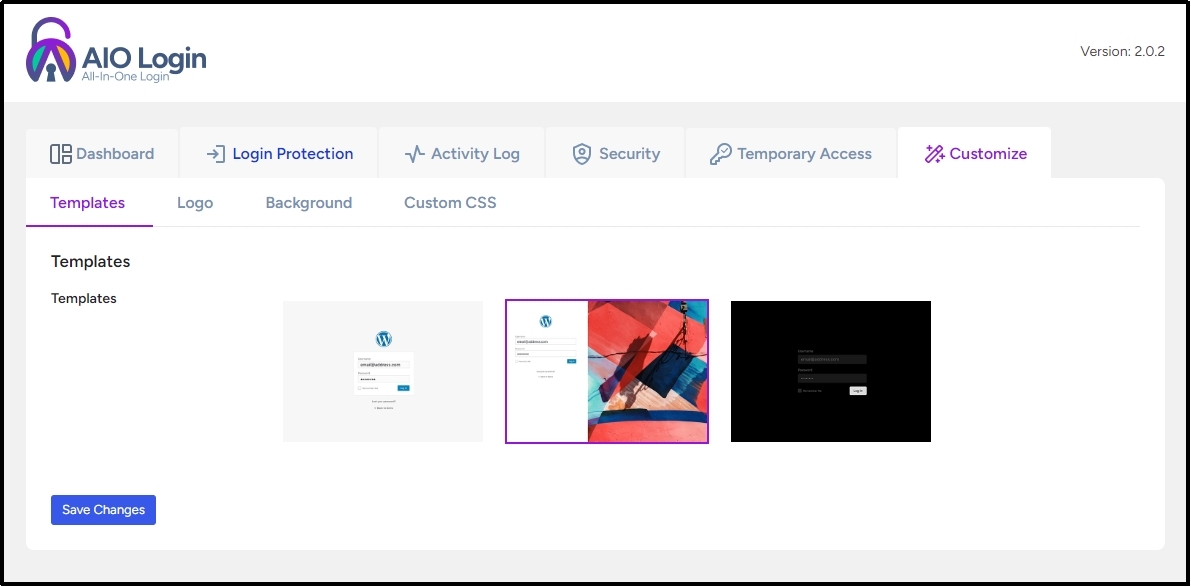
Finally, let’s switch to the Templates tab. As you can see in the image above, it is a premium feature and is only available to premium users. So, go here and buy an All-in-One Login and access appealing, ready-made templates.
This feature allows you to select from various templates, simplifying and speeding up customization.
Now, let’s see how it looks.
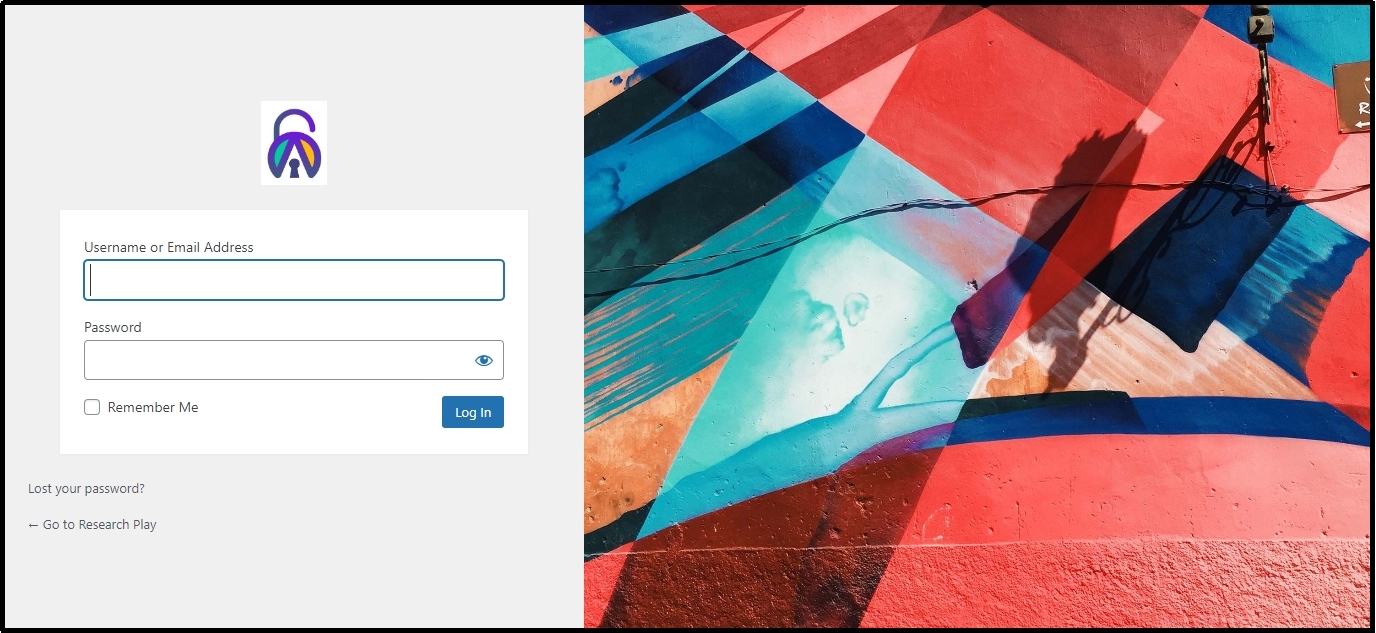
Here you have it! We replaced the uninteresting screen with a visually striking and attractive one.
That’s about it. We hope it was an exciting ride for you.
WordPress Multilingual Login Page: Best Practices
Always make sure to keep the design clean and straightforward. Use simple language to guide users through the login process if the website requires specific requirements. Moreover, remember to keep the theme consistent with your overall website. Use the same color palette you already use on your website.
Furthermore, considering the significance of mobile responsiveness, you can not neglect this extremely useful aspect of your multilingual login page. Make sure it appears nice and clean on all sizes of devices.
Additionally, do not forget to protect your login page from password-guessing attacks by using All-in-One login’s login protection tools, such as reCAPTCHA, multi-factor authentication, hide login URL, etc. We have already covered how to add reCAPTCHA and 2FA to your login page. Refer to the guide of your choice.
- How to Add CAPTCHA to WordPress Login in 03 Easy Steps
- How to Set Up Two-Factor Authentication (2FA) for WordPress [3 Easy Steps]
Conclusion
Creating a multilingual login page for your WordPress site is not vital for its success. It ensures the user has an amazing experience on your WordPress. With tools like TranslatePress and All-in-One Login, you can effortlessly set up a WordPress multilingual login page that’s visually appealing, functional, and secure.
By offering multilingual functionality, you can enhance user satisfaction and build trust and credibility, which can contribute to greater reach and, ultimately, brand growth. Whether you’re running an e-commerce store, a blog, or an educational platform, a multilingual login page can be a game-changer in attracting and retaining a diverse audience.
Remember, simplicity, consistency, and mobile responsiveness are the pillars of an effective WordPress multilingual login page. Pair that with robust security features, and you’ll have a login page that’s not only beautiful but also reliable and user-friendly.
Try All-in-One Login today and protect your login page from several cyberattacks.
Frequently Asked Questions
Is it possible to have a multilingual site in WordPress?
Yes! It is possible to have a multilingual site in WordPress. All you have to do is download a plugin, such as Translate Press, that can translate your entire website into the user’s preferred language.
What is the easiest way to test multilingual functionality on the login page?
The easiest way to test multilingual functionality on the login page is to check it manually by navigating to the login page and changing the language from the drop-down menu.
How do I ensure security for a multilingual login page?
To ensure your WordPress multilingual login page is safe, you can add reCAPTCHA and multi-factor authentication (2FA) to your login page. The first one prevents bot login and the latter one helps against hackers or cyberattackers. Lastly, you can enhance security by masking your WordPress login URL with a confidential one. Fortunately, All-in-One login offers all these features for free.