The login user page is the gateway to your website. It is a vital aspect of your website design; it is the first thing that your user sees after landing on your website. Therefore, it’s crucial to customize the WordPress login user interface design to make it visually appealing and consistent with your overall website’s aesthetic.
In this article, you will learn how to customize your login page completely so it is consistent with your website’s theme, has key branding elements (such as your brand’s logo and color palette), is visually appealing, and is easy to follow for your valuable users.
Excited?
Let’s jump in and transform the dull-looking login page into something magical!
Why Customize the WordPress Login User Interface Design?
But before jumping right in, let’s take a moment to understand why you must customize the WordPress login user interface design.
- Visually pleasing: A customized design is visually pleasing while the basic WordPress one, even though it serves the purpose, it is still very mundane and boring looking. Putting in some colors can help add excitement to the plain design.
- Branding purposes: Another crucial benefit we get is the chance to add a touch of branding. Later, you will learn how you can add your brand’s logo and color palette, adding a touch of your brand to the plain and straightforward design.
- Consistency in design: You know how bland WordPress’s default design is, using a theme that matches your brand ensures consistency throughout the process of signing or logging in.
- Clear instructions: Sometimes, your website may need uncommon instructions for singing or logging in. For example, you may want to prompt users with a reminder to use strong passwords to avoid cyberattacks. Using a customized design allows you to add custom text to your login page.
Step-by-Step Process to Customize WordPress Login User Interface Design With All-in-One Login
Now that you understand why you should customize the WordPress login user interface design, let’s jump into the process.
First and foremost, download the plugin by navigating to the WordPress dashboard >> Plugins >> Add New Plugin >> All-in-One Login.
Click Install and wait for completion. Once done, an Activate button will appear. Once it shows up, activate the plugin, as shown in the image below.

After the plugin is activated, jump into the plugin’s settings and navigate to the “Customize” tab.
Once in, you will see a screen as under.

The customization tab consists of four subtabs, namely:
- Logo
- Background
- Custom CSS
- Templates
Let’s see how each tab helps with customization.
The first tab—obviously—helps with logo placement and replacing the giant WordPress logo with one of your brand’s.
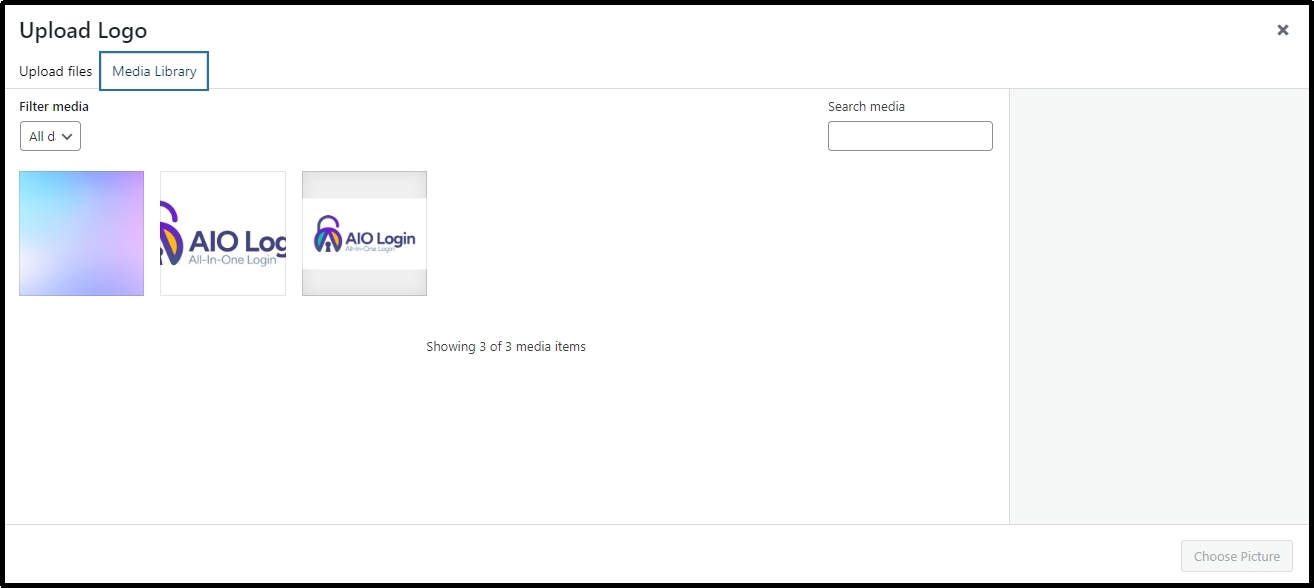
To change the logo, you will have to upload your new logo using the Upload Logo button.
You will be redirected to the Media Library, select where you saved your logo, and click the Choose Picture button.
After the logo, you will see further customization, such as the Logo Redirect URL and a few placement options.
In the redirect URL, enter the URL where you would like the user to land after clicking on the logo. You can add your home page here. That would take users to your home page if they click the logo while logging or signing in.
Next, we have alignment options. You can change the width and height of the logo by changing the size (or px) here.
After you set it up correctly, use the Save Changes button to save your progress.
Now, let’s move on to the next tab, the “Background.“
Here, we have two primary customization options: background color and background image.
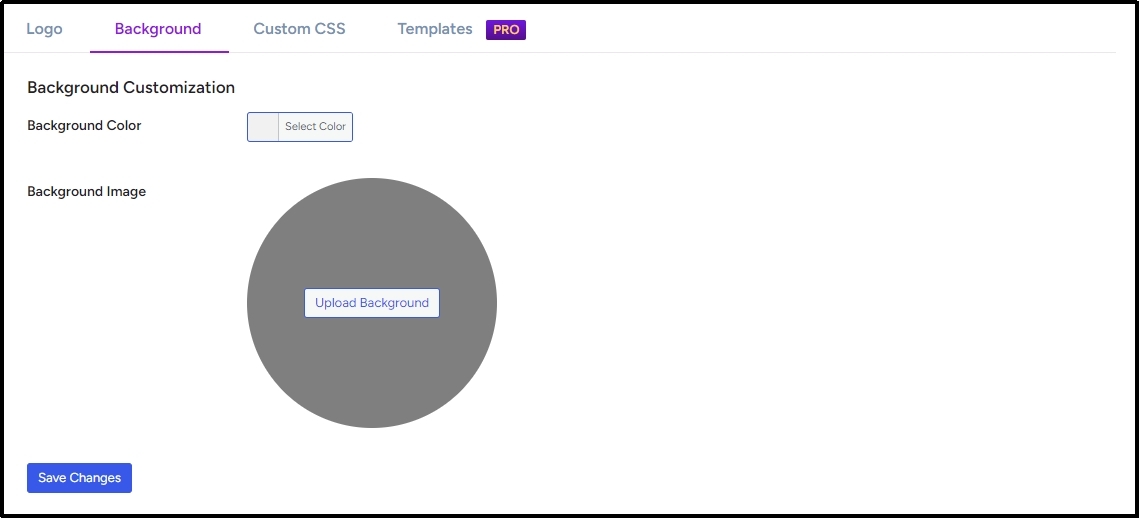
Since most people do not enjoy the blunt silver-colored screen, you can easily change the background of your login page with All-in-One Login. Simply click the Select Color next to the Background Color, and the following screen will appear.
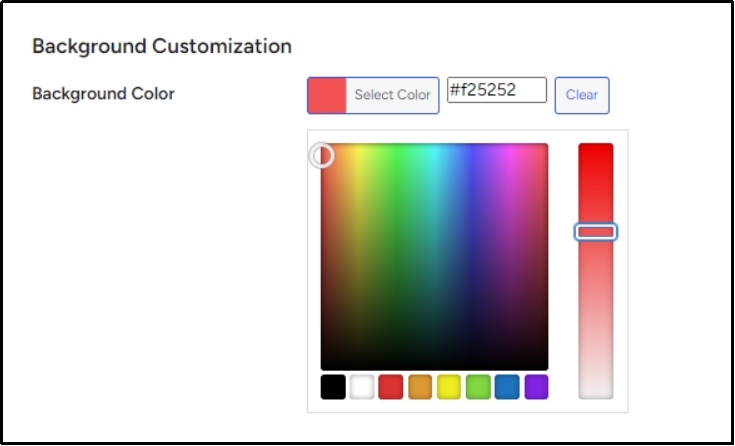
Select the color that you want or the one that matches your brand’s aesthetics, and click Save.
Conversely, if you don’t want to change the color and just want to replace the background with an image of your choice, you can do that too!
I have downloaded this gradient color, but you can easily use any image of your choice. Particularly, you can choose something that resonates with your audience or goes well with your brand’s image or motives.
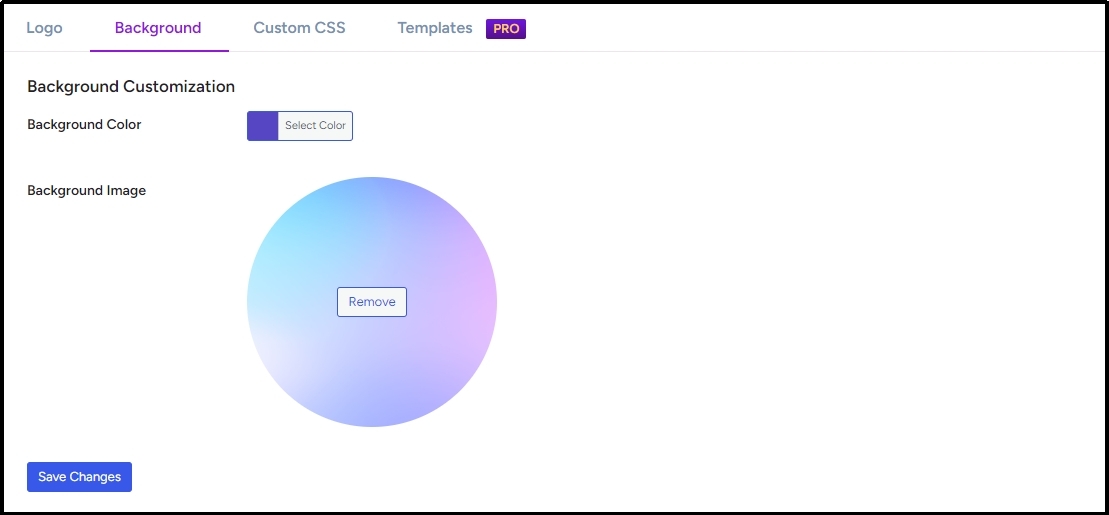
Afterward, don’t forget to save the changes again. The Save Changes button is right at the bottom of the screen.
Next, we have the “Custom CSS,” and here, sky is the customization limit!
As the name suggests, using this feature, you can add any element you want. However, leveraging this feature is only wise when you know precisely what you are doing because code corruption may cause complications.
Remember to always add your custom CSS code without adding a <style></style> tag.

Last but not least, we have the “Templates.”
Before we learn more about this feature, please note that it is a premium feature and is only available in All-in-One Login Premium. Make sure to check out and buy a plan before trying this out.
Coming back to the topic, this feature comes with some ready-made templates for you to choose from. Simplifying the process and allowing for quick completion of customization.
As you see in the image, you can choose one of the templates and apply changes with the Save Changes button. We are choosing the one in the middle.

Now, let’s see how it looks…
There you go!
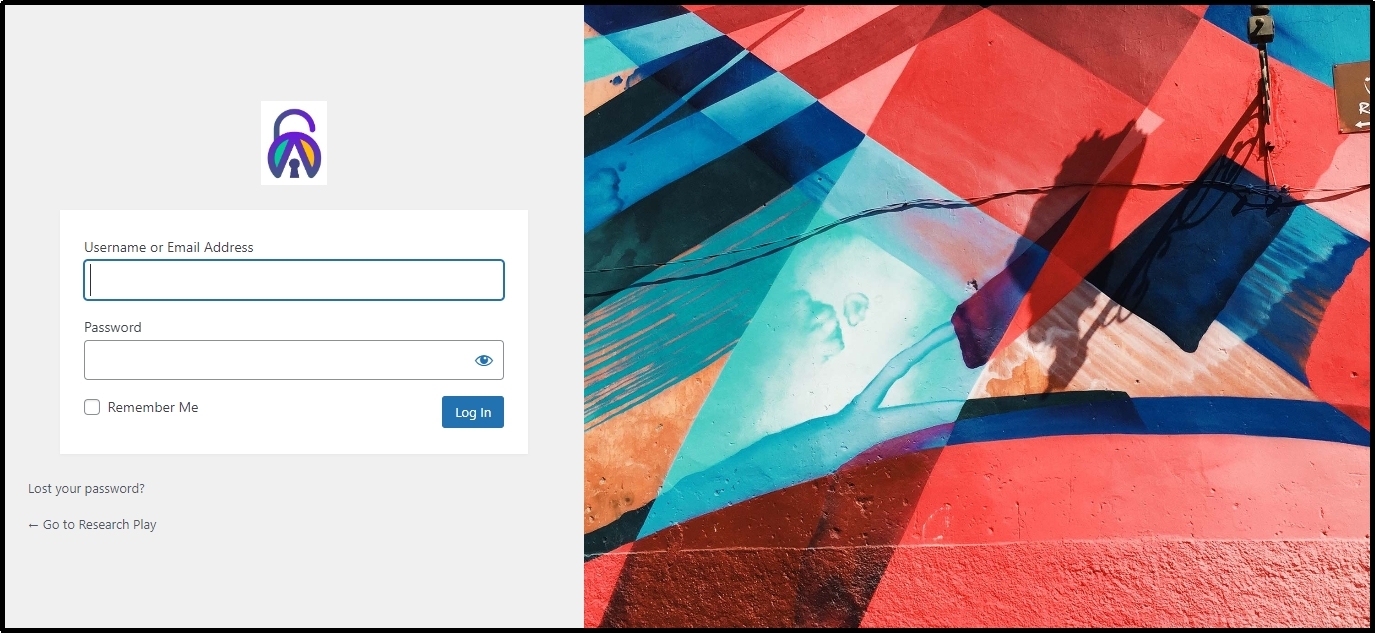
We have successfully transformed a dull WordPress login user interface design into a very attractive and captivating one.
That’s about it. Let your imagination unleash and create login pages like you always wanted!
Best Practices For Customizing WordPress Login User Interface Design
Before you start letting your imagination work, here are a few things that can help you design better and with more professionalism.
- Firstly, it’s important to maintain a clean and straightforward design, instead of using designs/colors that are visually sharp and may cause complications to users who do not use very bright screens, use colors that are light and can be soft for a wide range of audiences.
- Secondly, communicate openly with your audience. For instance, if you want the users to use a special character in their passwords, explicitly state that with a prompt like “You must use a certain character in your password” instead of saying “Create a strong password.”
- Thirdly, keeping your theme consistent with your website is theme is critical for your WordPress login user interface design. Use the same color palette that is consistently used all over your site, and similarly, avoid using colors that have nothing to do with your brand.
- Fourthly, you can not afford to neglect the essence of mobile responsiveness. These tiny devices make up a big chunk of the total web traffic. Thus, it’s necessary to optimize your WordPress login user interface design for mobiles and all other kinds of mobile devices.
Lastly, never forget to protect your login page from cyberattacks. Hackers can easily perform password-guessing attacks on your login page. Therefore, ensure to be one step ahead of them and leverage All-in-One Login’s login protection tools, such as reCAPTCHA, multi-factor authentication, hide login URL, etc., to protect your website from pesky attackers. For detailed documentation about how you can implement these features on your website, please refer to the linked articles below:
- How to Add CAPTCHA to WordPress Login in 03 Easy Steps
- How to Set Up Two-Factor Authentication (2FA) for WordPress [3 Easy Steps]
Conclusion
Customizing your WordPress login user interface design is a simple yet impactful way to enhance your website’s aesthetics, improve user experience, and strengthen brand identity. With the All-in-One Login plugin, you can easily personalize your login page by adding your logo, adjusting the background, applying custom CSS, and even selecting pre-made templates.
By following the best practices outlined in this article, you can create a visually appealing and secure login experience for your users.
Now, it’s your turn to transform your WordPress login page. Get creative and start customizing today!
All-in-One Login is a complete solution for login page customization and security. Try it today!